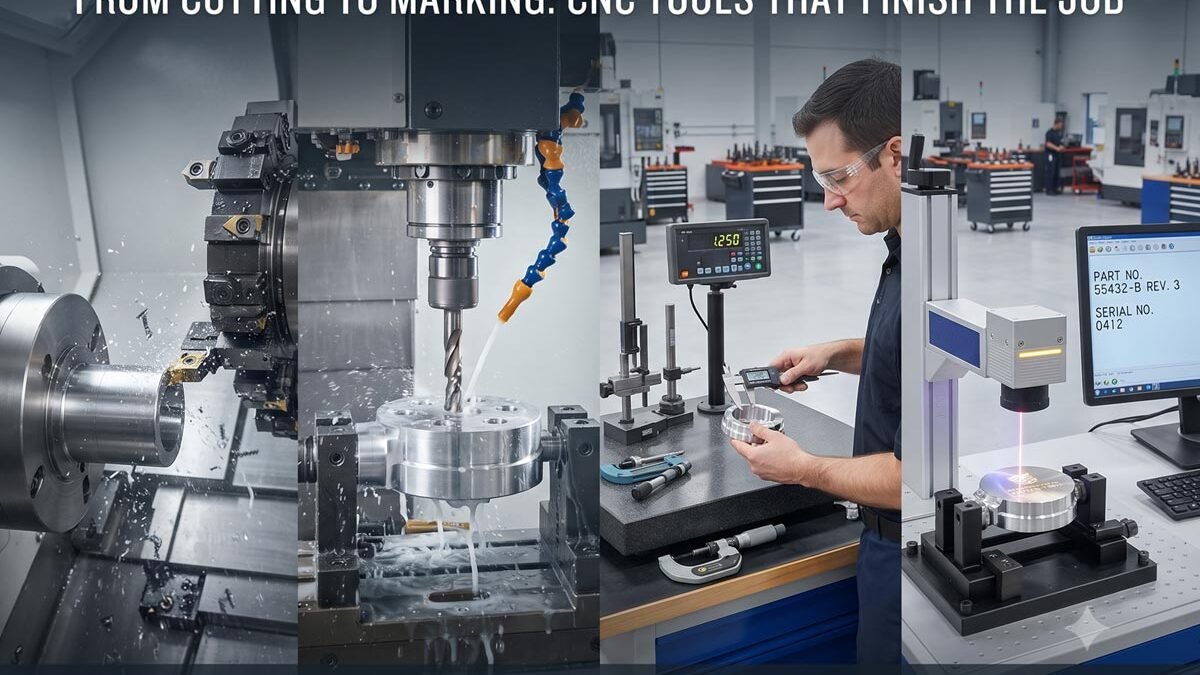
A finished CNC part goes through more than one stage before it is ready to leave the shop. Cutting, drilling, inspection, deburring, and marking can all play a role in creating a component that meets both dimensional and presentation requirements. For beginners, understanding how these steps connect can make the entire machining process easier to manage.
The cutting stage comes first. On a CNC lathe, lathe tools can be used for operations such as facing, turning outside diameters, creating shoulders, cutting grooves, and producing other common features. The correct tool depends on the material, geometry, and type of cut being performed.
After the main shape has been machined, additional tools may be needed to create holes, refine features, and prepare the part for inspection. Once dimensions have been confirmed, marking equipment can add part numbers, serial information, logos, or other identification.
Thinking about these steps as one connected workflow helps machinists avoid treating each operation as an isolated task. A clean final product begins with solid cutting practices and continues through drilling, inspection, and marking.
Precision Tools for Cleaner Machining Results
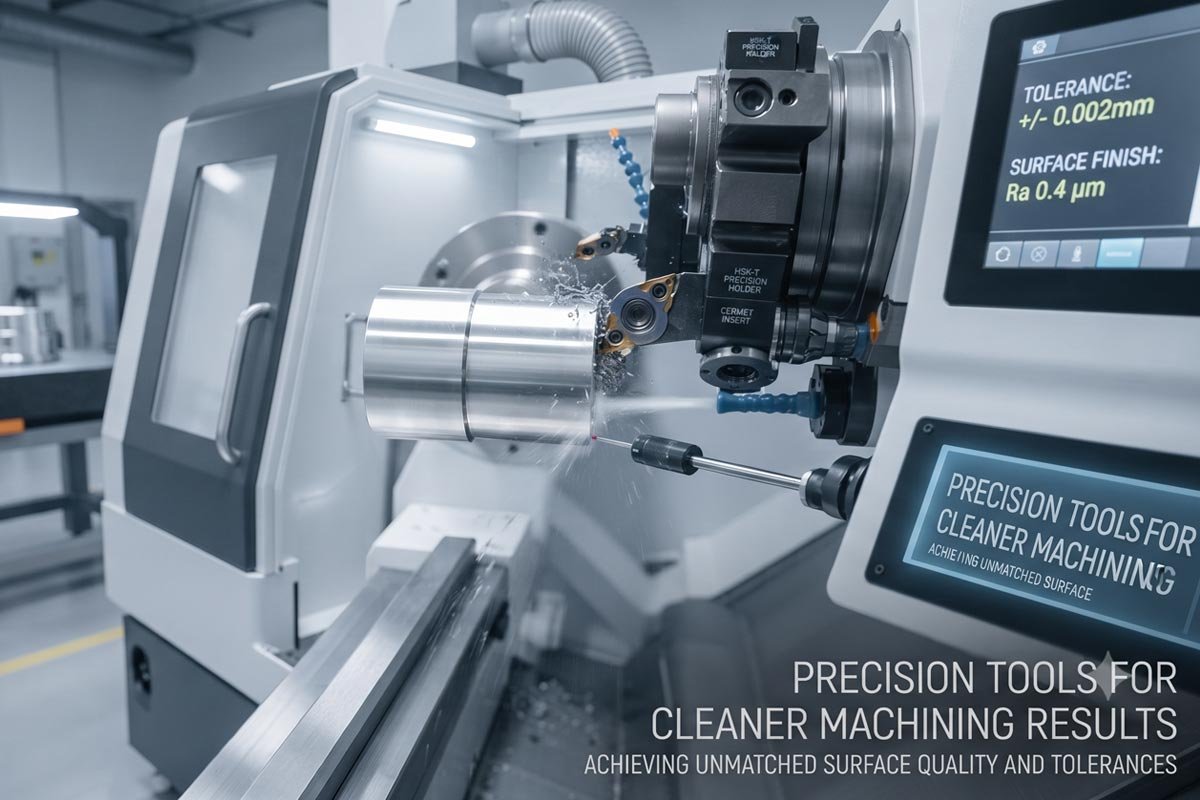
The quality of a finished part depends heavily on the cutting tools used during the first stages of production. On a CNC lathe, tool selection affects dimensions, surface finish, chip control, and cycle consistency.
General turning tools are often used to reduce the outside diameter of a workpiece. Facing tools create flat surfaces on the end of the part, while grooving and parting tools handle more specialized features. Boring tools may be used for internal diameters, and threading tools can create internal or external threads when required.
Beginners should focus on understanding what each tool is designed to do before worrying about every insert geometry or coating available. Matching the tool to the operation is more important than building a large collection of specialty tooling.
Insert selection also matters. Different materials place different demands on cutting edges. Aluminum, mild steel, stainless steel, and harder alloys may require different geometries or grades to control heat, wear, and chip formation.
The setup should remain as rigid as possible. Excessive tool stickout can increase vibration and make it harder to maintain a consistent surface finish. Keeping the tool close to the holder while still providing the necessary clearance can help improve stability.
Workholding plays a similar role. A correctly selected cutting tool cannot deliver accurate results if the workpiece moves during machining. Chucks, collets, vises, and fixtures should hold the material securely without creating unnecessary distortion.
Once the main turning or milling operations are complete, drilling often becomes the next step. Many CNC parts require holes for fasteners, locating features, fluid passages, or later assembly operations.
For rigid CNC setups, solid carbide drill bits can provide a useful option for producing accurate holes efficiently. Carbide offers high hardness and wear resistance, which can support faster cutting conditions when the machine and workholding are stable.
Carbide drills also require careful setup. Because carbide is relatively brittle, excessive vibration, poor alignment, or unstable toolholding can lead to chipping or breakage. The drill should be held securely, and unnecessary stickout should be avoided.
Hole depth should influence the drilling strategy as well. Deeper holes can make chip evacuation more difficult, especially when cutting tougher materials. Chips that remain trapped in the hole can increase heat and interfere with the cutting edges.
Coolant can help manage temperature and move chips away from the drilling area. Some drilling applications may also benefit from through-tool coolant, depending on the equipment and drill design.
Speeds and feeds should match the specific drill and workpiece material. Running too aggressively can increase cutting forces, while running too slowly may cause the tool to rub instead of cutting efficiently.
Inspection should happen throughout this process rather than only after the entire part is finished. The first completed part should be checked before a large production run continues. Critical outside diameters, hole sizes, lengths, and other features should be verified with the appropriate measuring equipment.
If a dimension is incorrect, machinists should investigate the cause before making random adjustments. Tool wear, incorrect offsets, workholding movement, runout, or programming errors can all produce dimensional problems.
A consistent process of machine, measure, and adjust can help prevent mistakes from spreading across multiple parts.
Professional Part Marking After Machining Is Complete
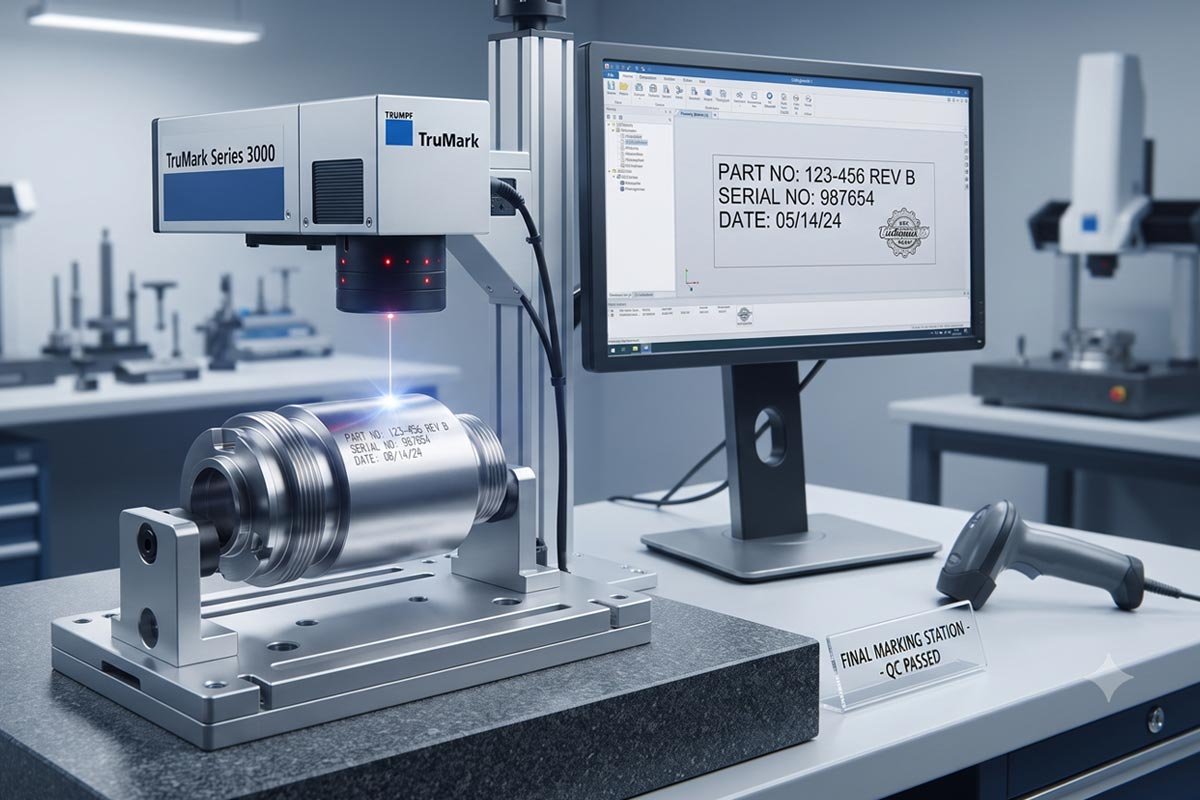
Once a part has been machined and inspected, the final step may involve identification or branding. This is where marking equipment can become part of the production workflow.
A fiber laser engraving machine can be used to add permanent information to compatible parts after machining is complete. Depending on the application, that may include serial numbers, part numbers, logos, batch information, barcodes, or other identifying details.
For busy CNC shops, bringing marking into the normal production sequence can make finishing more efficient. Instead of sending parts to an outside service or using CNC machine time for mechanical engraving, a separate marking process can allow the cutting machines to remain focused on production.
The order of operations is important. Marking should generally occur after critical dimensions have been inspected. Permanently identifying a part before confirming that it meets requirements can waste time if the component later fails inspection.
A simple workflow may begin with machining, followed by deburring and dimensional inspection. Once the part has passed those checks, it can move to the marking station and then continue to packaging or assembly.
Consistency is one of the main benefits of controlled part marking. Customers may expect a logo or part number to appear in the same location on every component. Using repeatable fixtures and established marking programs can make it easier to maintain a uniform appearance.
Traceability is another advantage. A serial number or batch code can help connect a finished component to a specific production run. If a part needs to be reordered, inspected, or reviewed later, clear identification can make it easier to locate the relevant job information.
Shops should also think about how parts will be positioned during marking. A simple fixture may help place each component in the same location so that the marking appears consistently across a production batch.
File management matters too. Clear program names and organized customer files can help prevent the wrong logo, part number, or serial format from being applied to a finished component.
Safety should remain part of the process. Laser equipment should be operated according to the manufacturer’s instructions, and employees should receive proper training before using the system.
The same attention given to CNC machine setup should apply to the marking stage. Confirm the correct part, verify the marking program, position the component properly, and inspect the finished mark before continuing with the full batch.
For shops that regularly produce customer-facing components, professional marking can also improve presentation. A clean, consistent identifier can make a finished machined part look more complete while giving customers useful information about the component.
The most effective machining workflow connects every stage rather than treating cutting, drilling, inspection, and marking as unrelated tasks. Turning tools establish the primary geometry, drilling tools create important features, inspection confirms that the component meets requirements, and marking provides final identification.
Beginners who understand that complete process are better prepared to produce parts that are not only dimensionally correct but also ready for assembly, shipping, or customer use.
Finishing a CNC job is ultimately about more than removing material. The goal is to create a consistent, verified, and professionally completed component. By choosing appropriate cutting tools, maintaining rigid setups, checking dimensions at the right stages, and adding clear identification when needed, machine shops can build a smoother workflow from the first cut to the final mark.