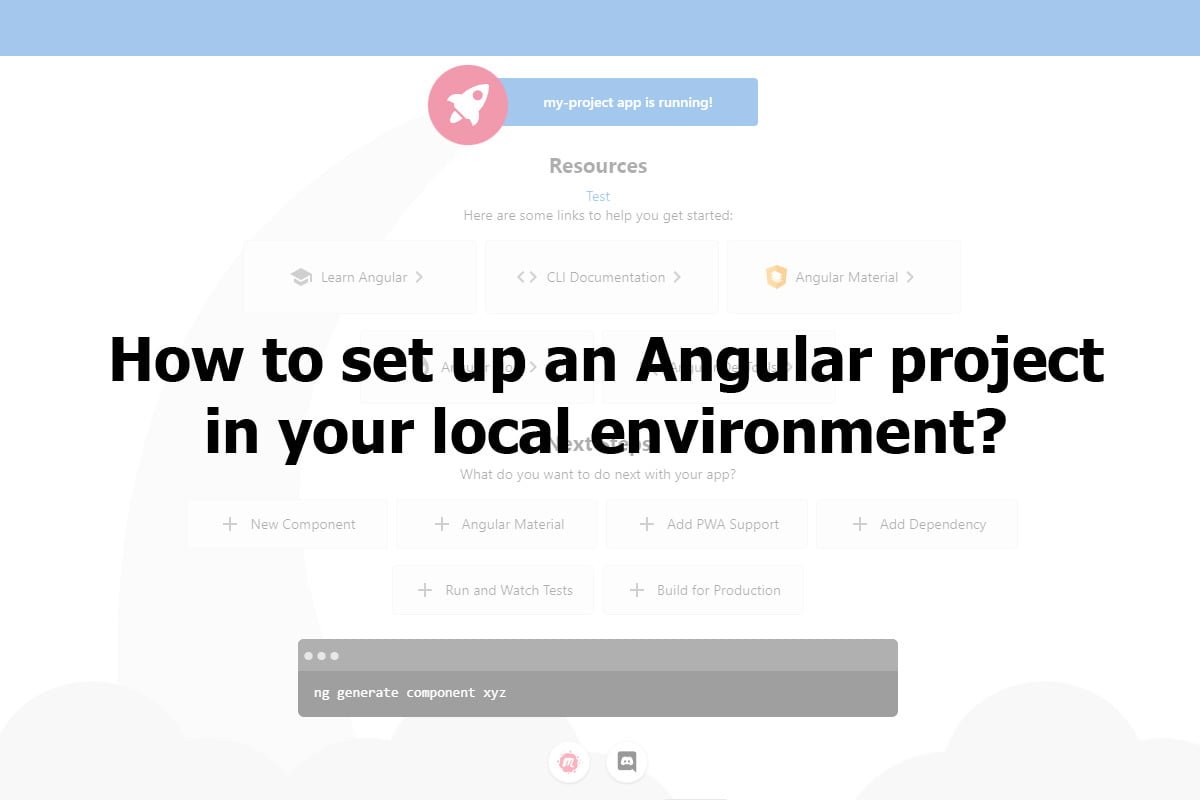
Angular is becoming popular as a front-end development platform built on the typescript. Angular JS is built on Javascript, but later Angular was built using typescript. Typescript is the superset of Javascript and has more benefits like type checking, better tooling and improved development experience. You can use Javascript to write angular code, but it is not recommended. So let us see how to set up an Angular project on your local.
How to set up an Angular project on your local.
For setting up an angular project you need Node.js Installed in your system. You can download Node.js here. After you install Node.js you have to install Angular CLI, using this command line in your Command Prompt. Open the Command prompt using Win+R and type “cmd” in the input box and click “Ok”

npm install -g @angular/cli

After that, you run the Angular Setup Code. I have just used “my project” as the project name, you can use any name you want. When you run this code, it will ask you if you like to add Angular routing, please select yes, as routing is needed to create an application. After that it will ask you the stylesheet format, I would advise you to use SCSS, but you are free to use any.
ng new my-project
After this setup, you have the angular project installed in your local system. Using this below code you can start the server to see the angular app. Just open http://localhost:4200/ to see the basic app.
cd my-project
ng serve

Now you have angular installed in your local. You can start exploring the files and folders to work on your project. Angular is an MVVM platform.
Create Component
The basic file structure of any component in angular is an HTML file, TS file and SCSS file. You can create components using this command line. I have created a new component “test”.
ng generate component test
Create routing for new component
After you install your new component, you want to access that component.
- Go to app-routing.module.ts it is located inside src/app, there you have to import the new component you have created.
- For defining any new routing for a component, you have to import the component into this file.
- It is best to add it in the first line of the file
Add this code in app-routing.module.ts
import { TestComponent } from './test/test.component';

const routes: Routes = [
{ path: 'test', component: TestComponent },
];
After that add this code to app-component.html. I have just copied the old component files and changed the title, just to show you
<a [routerLink]="['/test']">Test</a>
Check Versions
To check for the angular version & node version you can use this code.
Check the angular version using the command line and enter this command
ng versionCheck the Node version, use the command line and enter this command
node -v
Conclusion
This is just a setup of the angular project on your local system. I will create a more comprehensive guide on Angular. Also, I will be creating this kind of setup code for all the possible Programming languages.


